


Shade Installation
If you are confused about installing Roman shades inside and outside, you can refer to the following videos.
Inside Installation
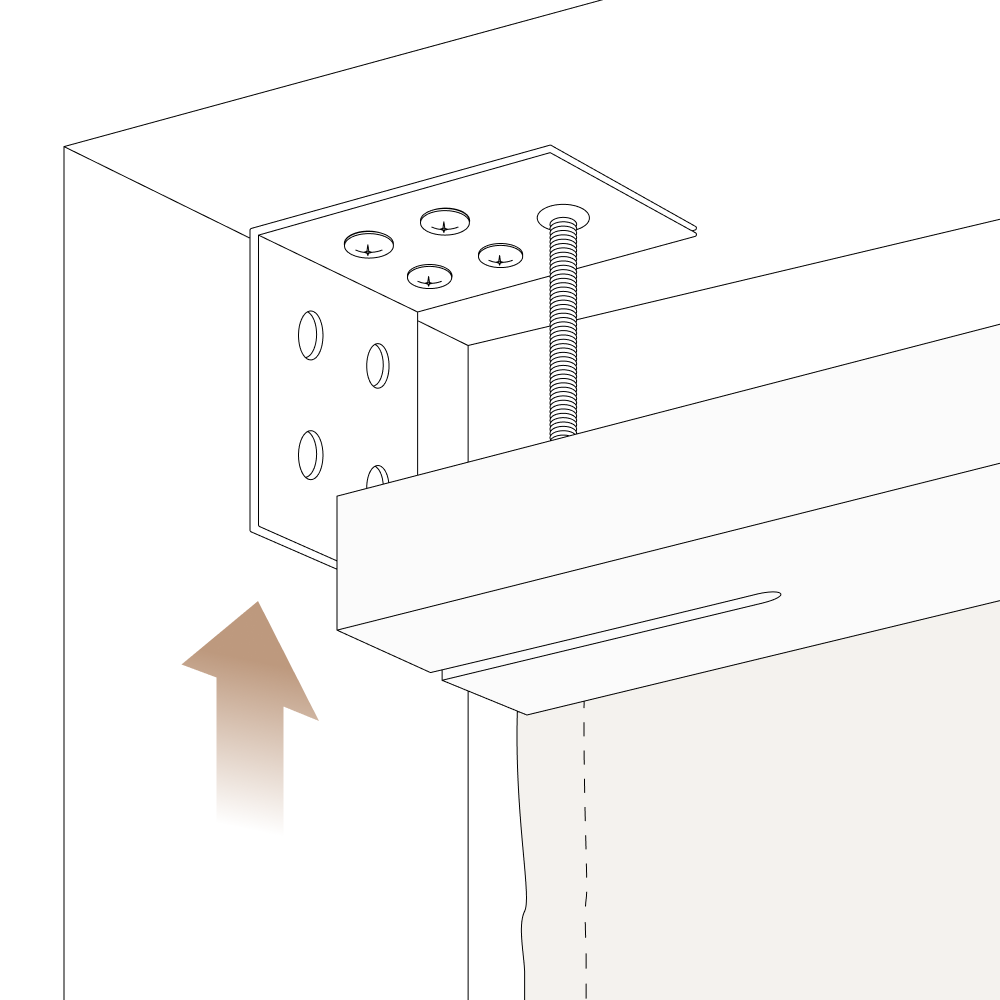
Type 1
Position the mounting bracket with screws as shown at the corner of the window frame.
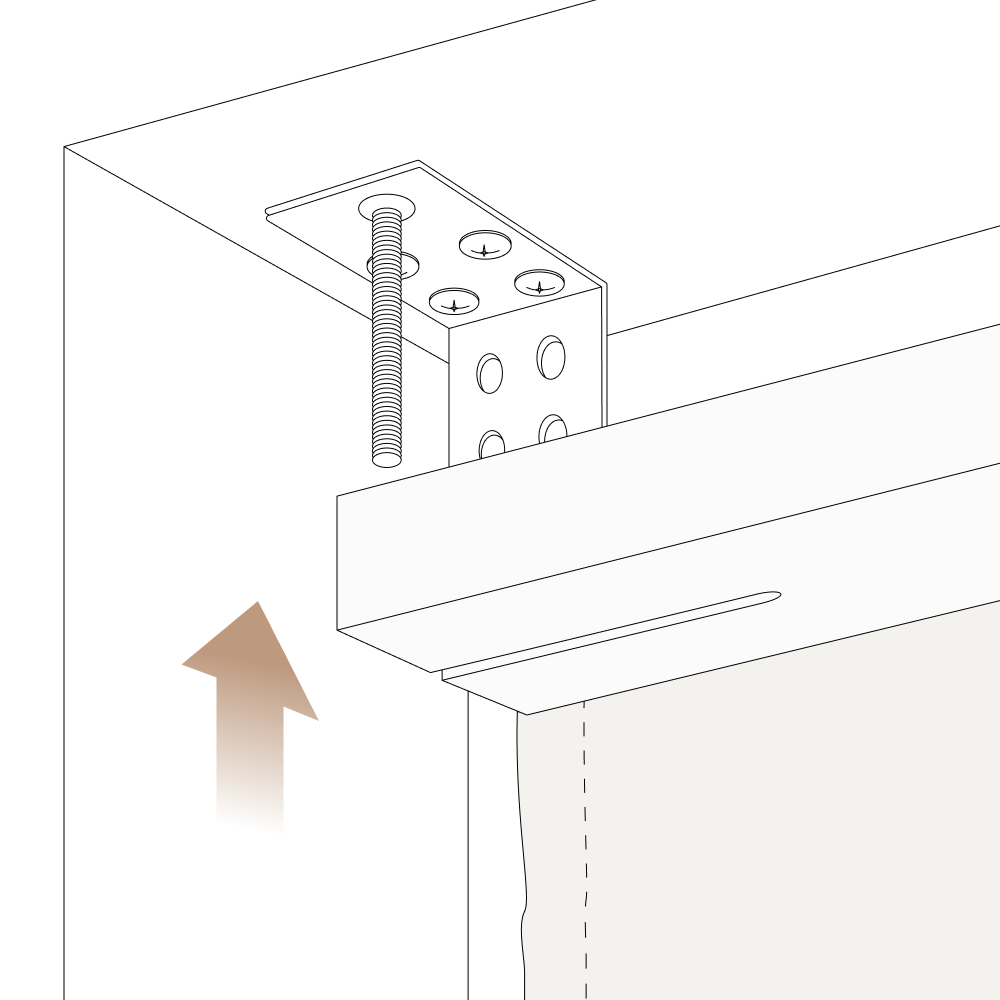
Type 2
Attach the mounting bracket with screws to the top of the window frame.
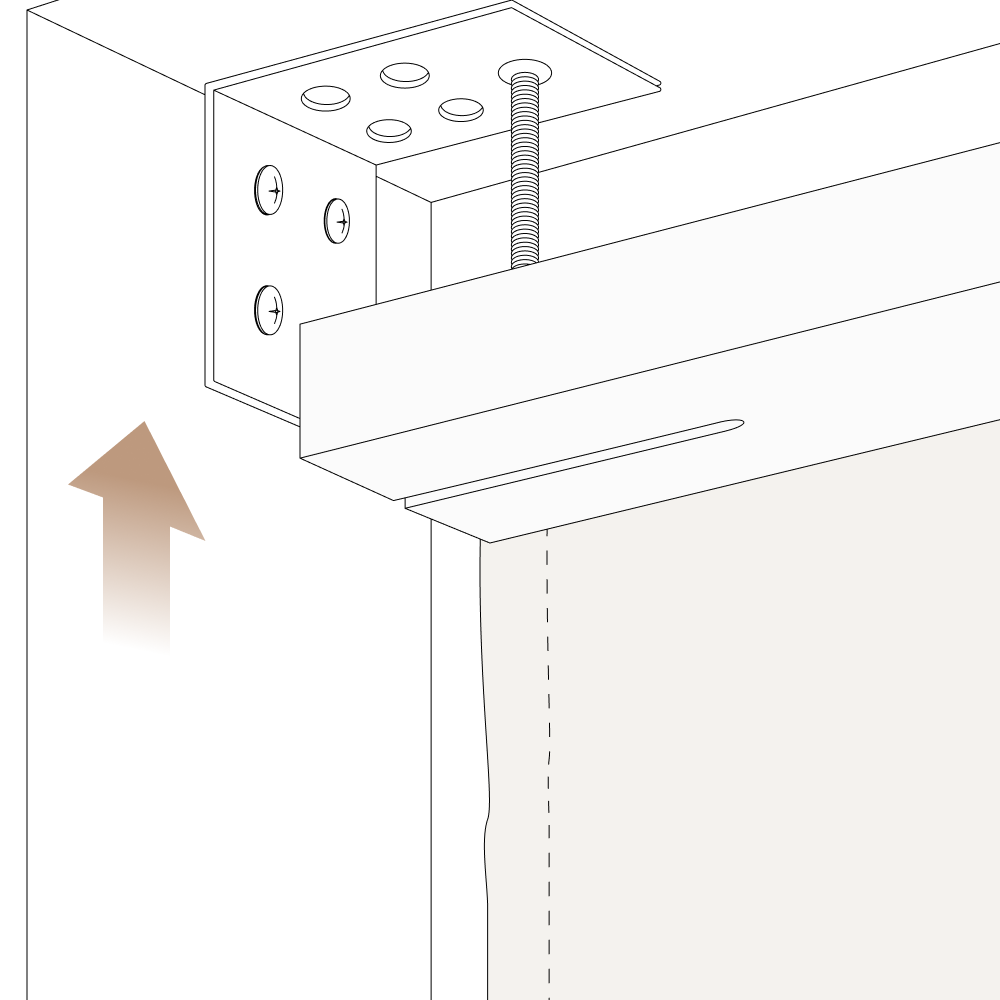
Type 3
Attach the mounting bracket with screws to the side of the window frame.
Outside Installation
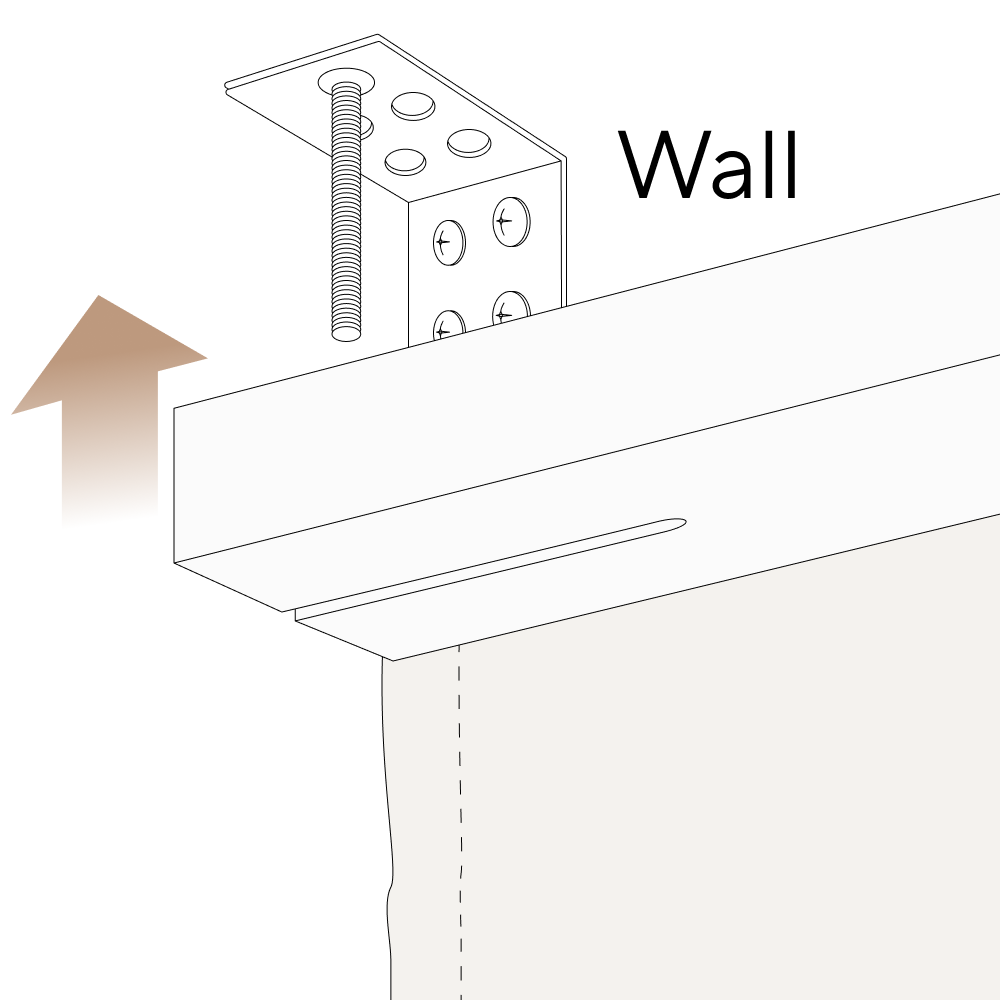
Type 1
Attach the mounting bracket without screws to the wall above the window frame.
For a better look, we recommend the shade to be mounted at least 10-12 inches above window frame.
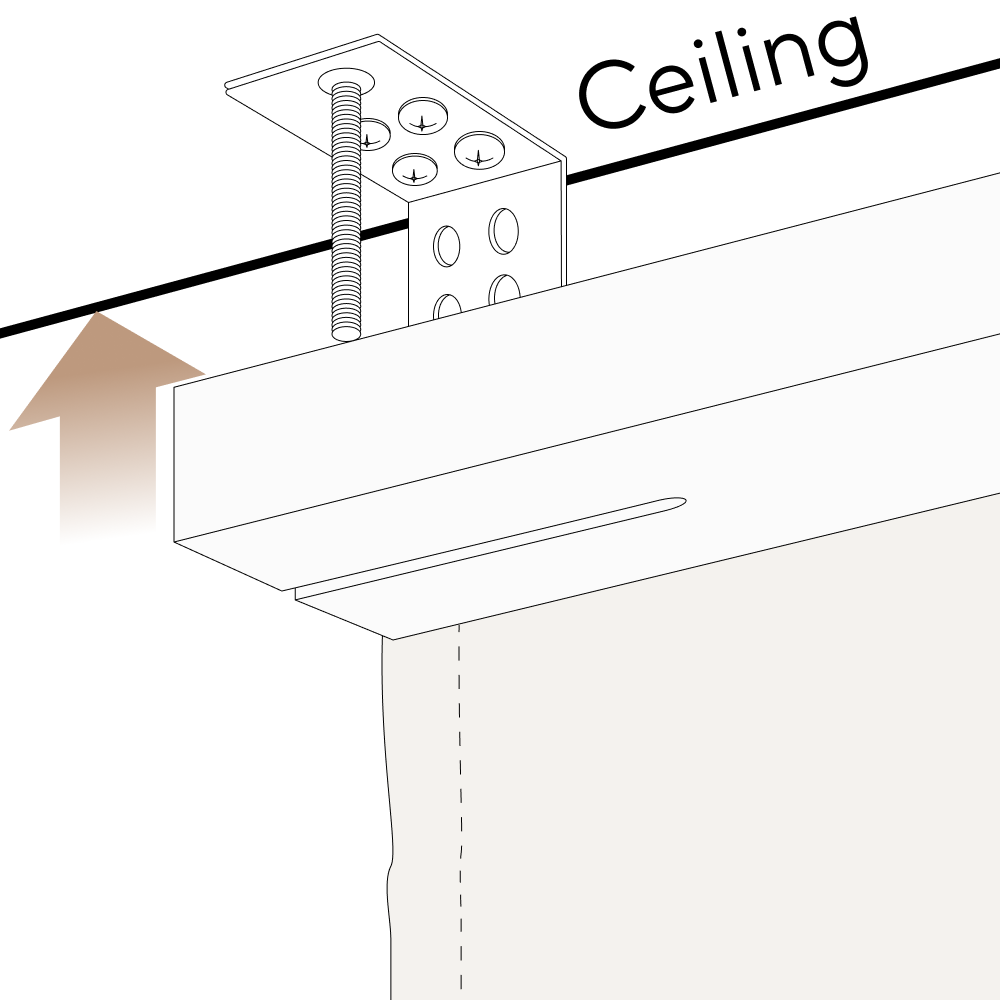
Type 2
If the top of the window frame is close to the ceiling, the mounting bracket can be installed on the ceiling as shown in the picture.

Step-by-Step Instructions for Inside Mount Roman Shade Installation
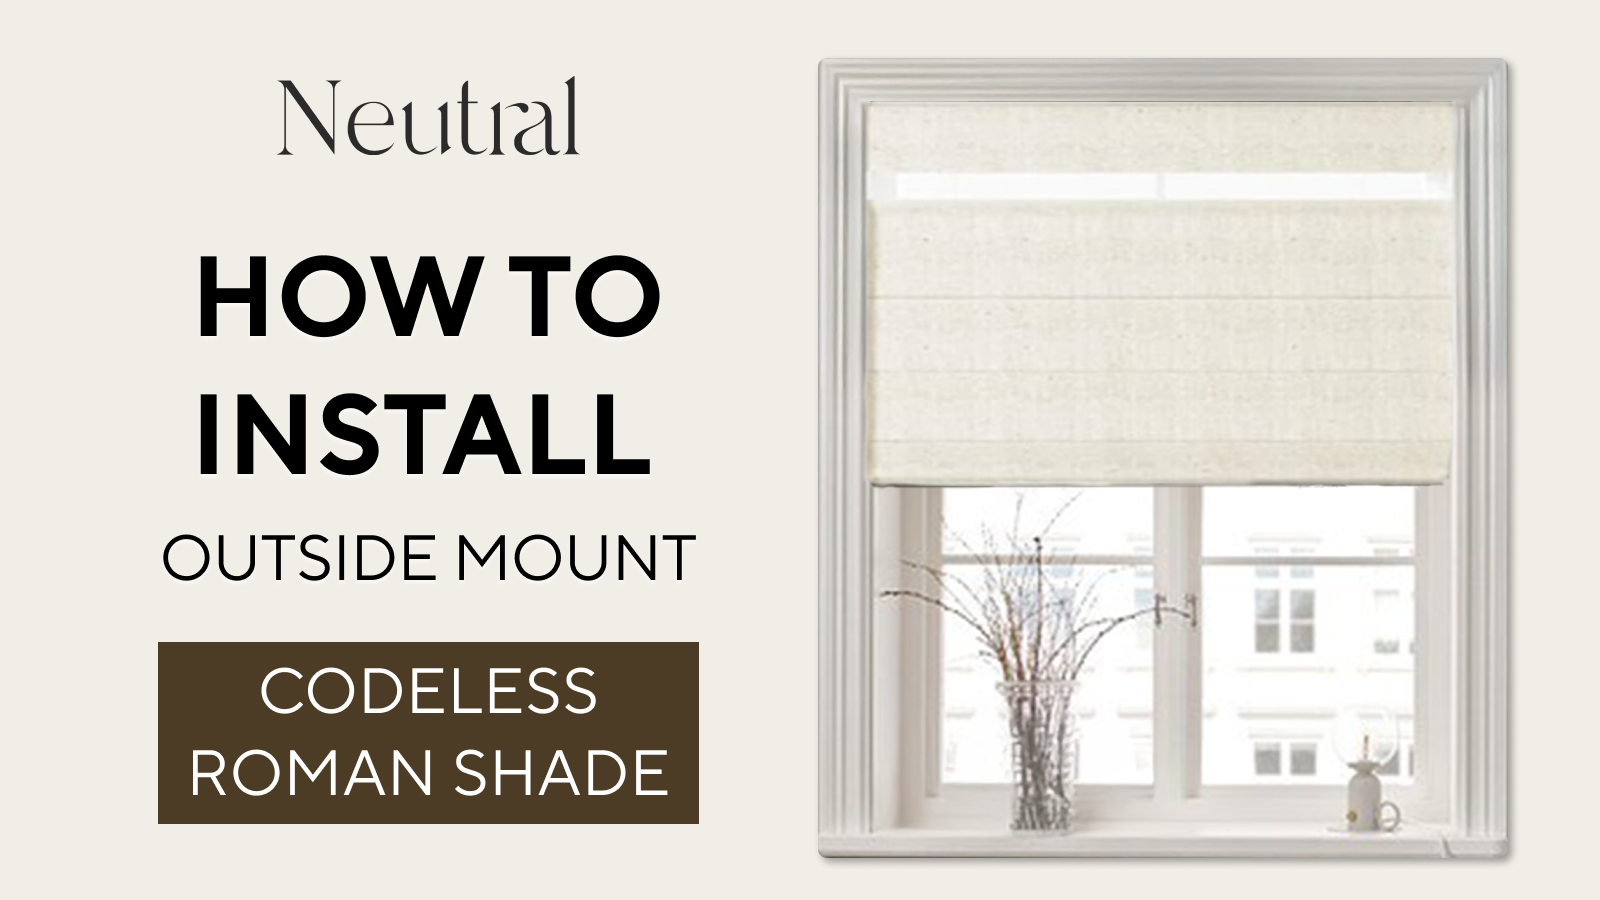
Step-by-Step Instructions for Outside Mount Roman Shade Installation
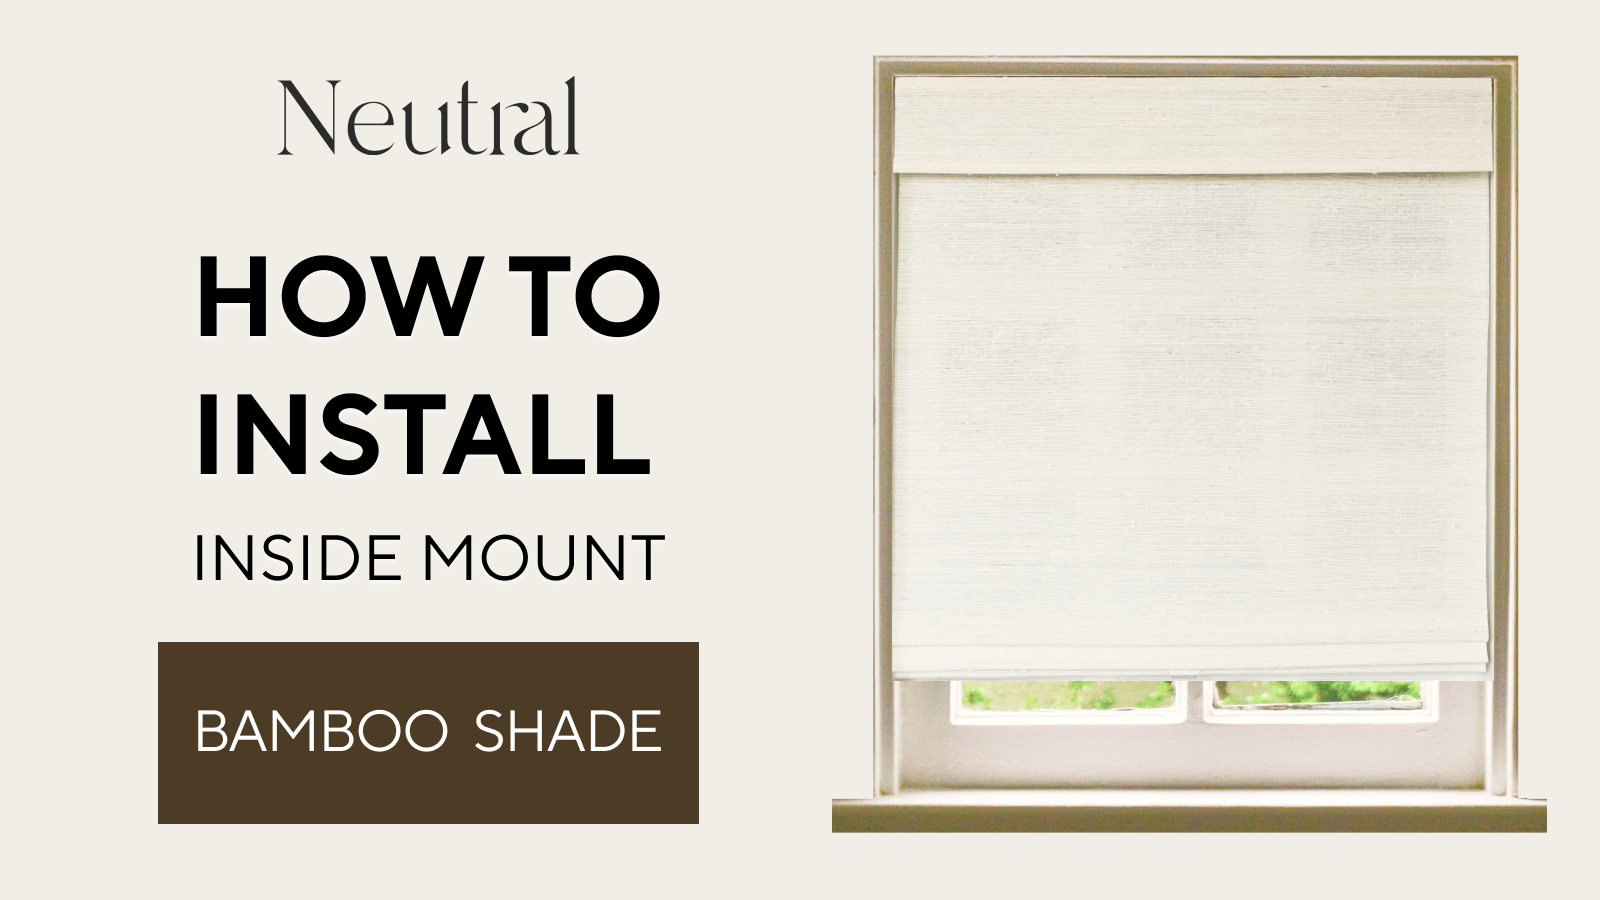
How To Install Bamboo Shades (Inside Mount)-Top Mount
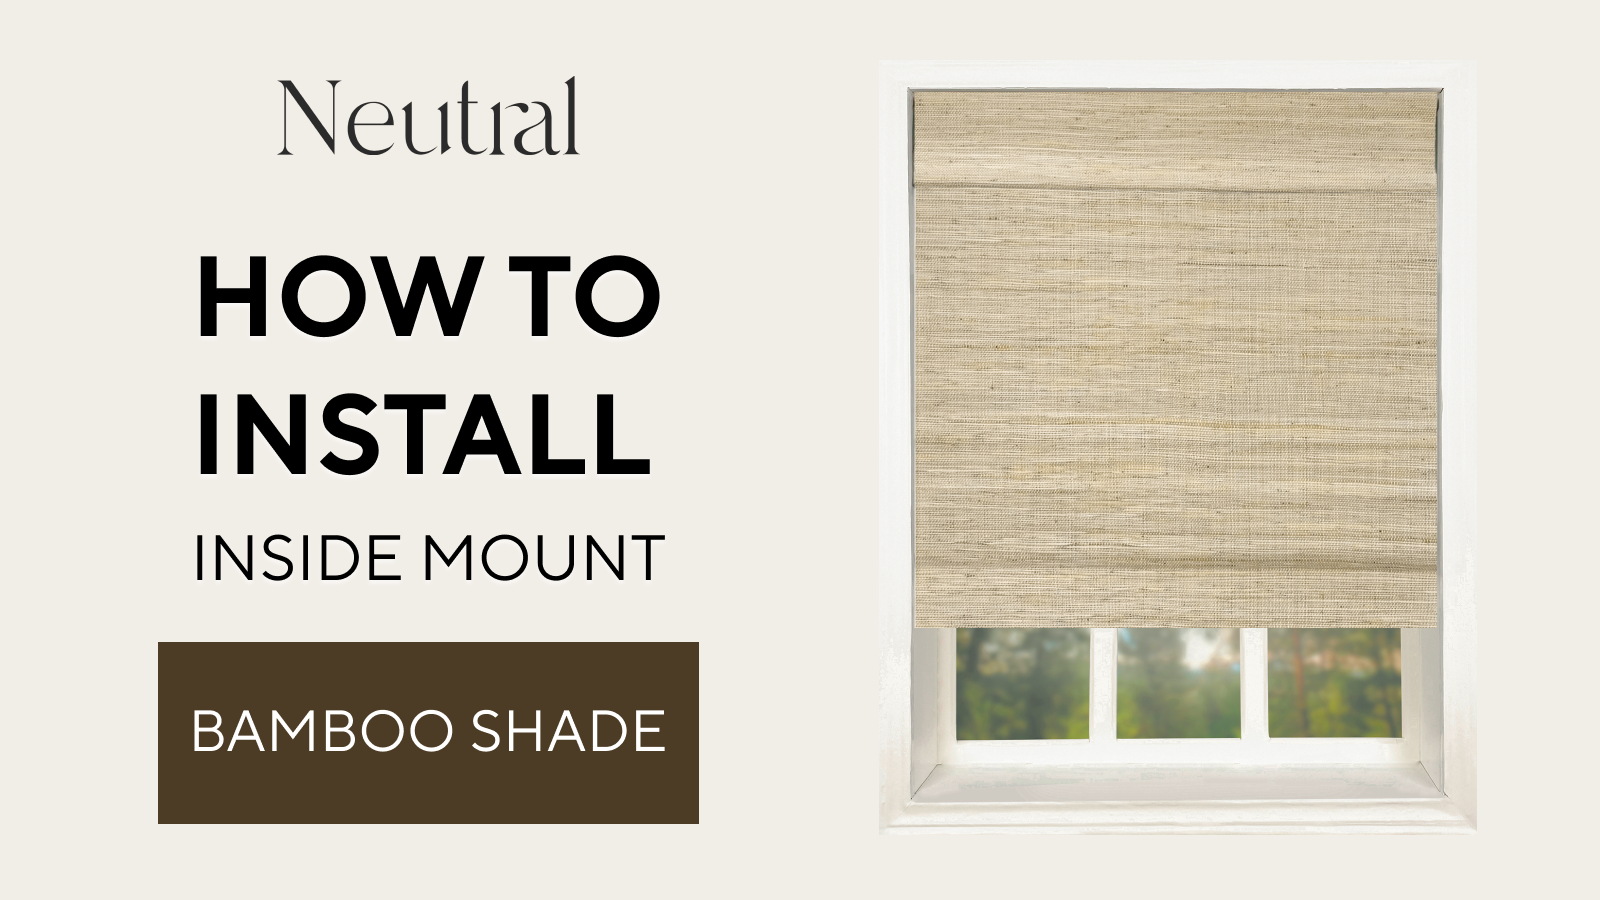
How To Install Bamboo Shades (Inside Mount)-Side Mount
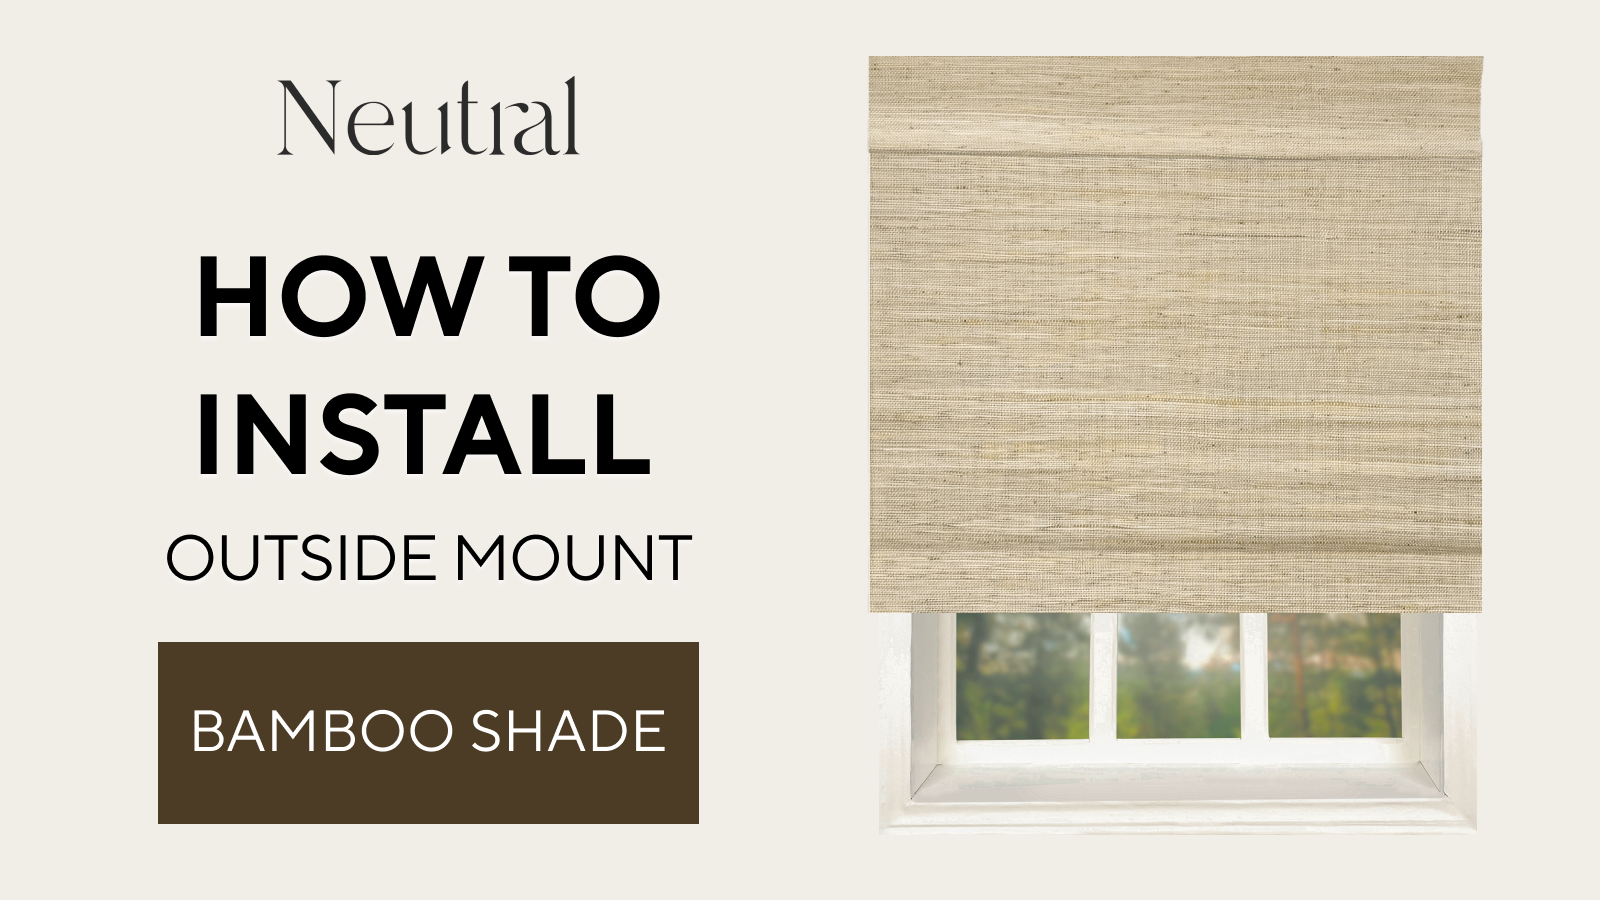
How To Install Bamboo Shade (Outside Mount)
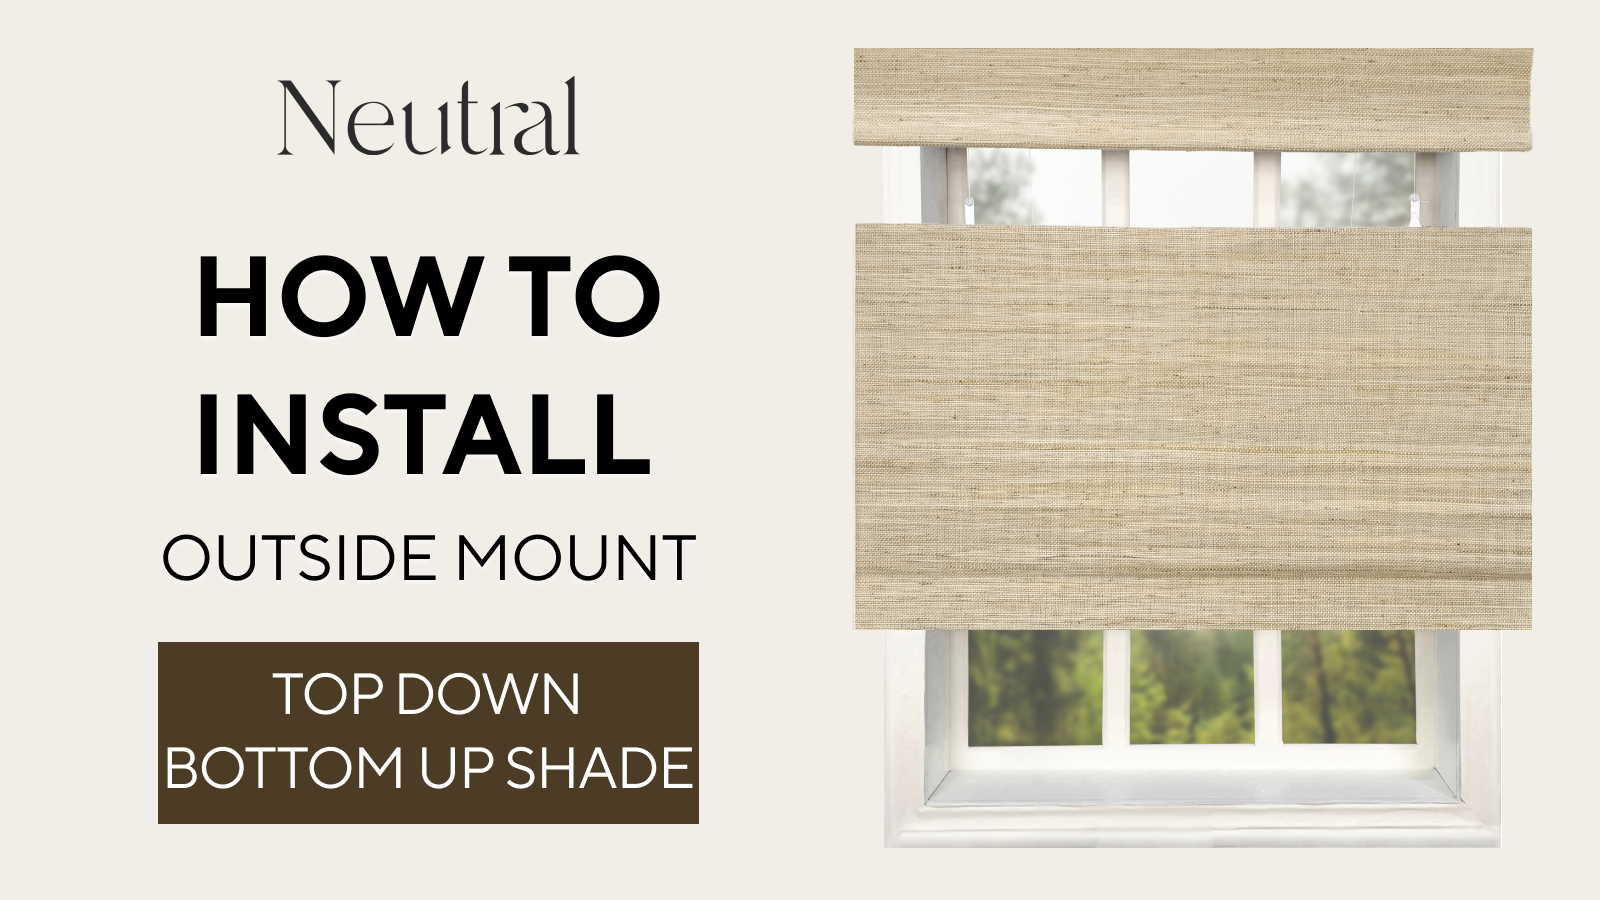
How To Install Top Down Bottom Up Bamboo Shade (Outside Mount)